Expert Cleaning Service Winnipeg: Your House's Buddy
Wiki Article
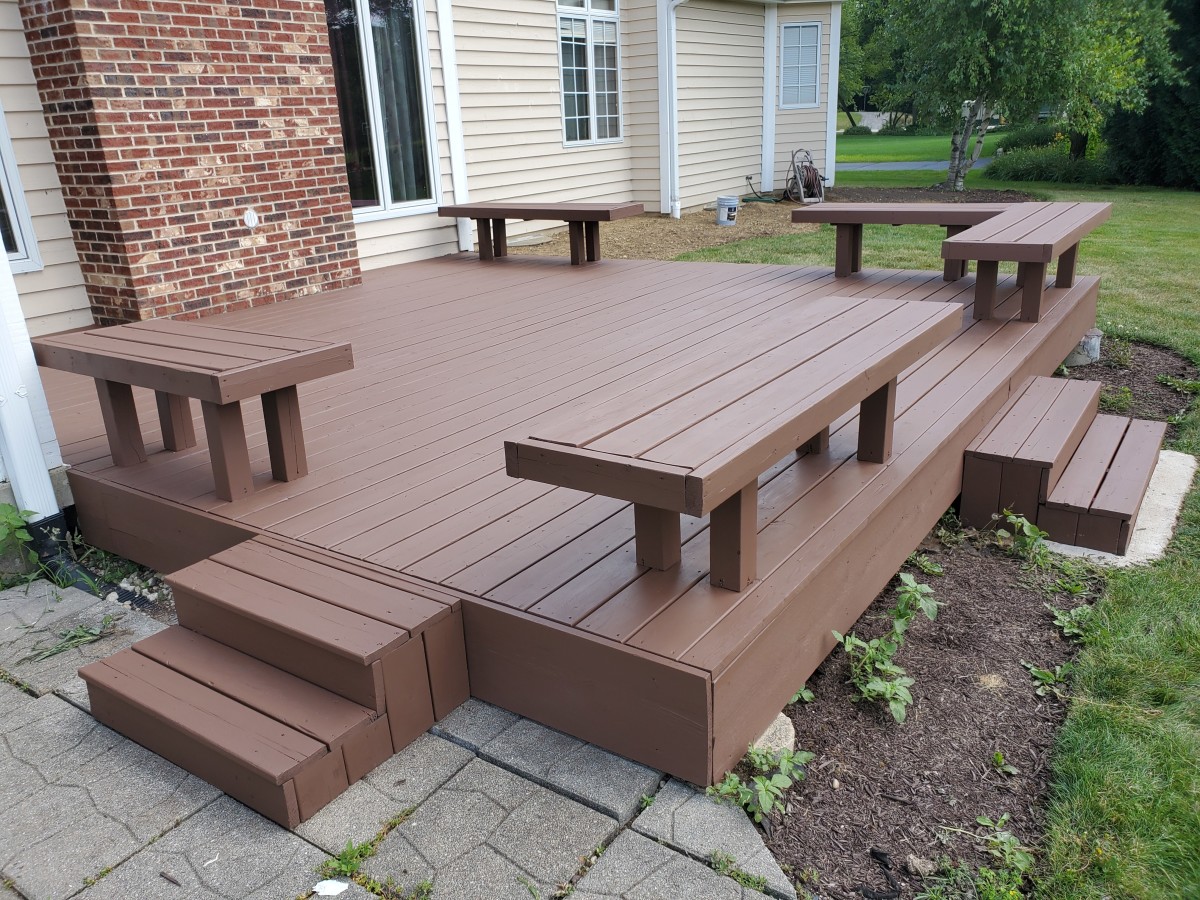
Deck Discoloration Made Easy: Step-by-Step Guide for DIY Lovers
Are you a Do it yourself fanatic looking to offer your deck a fresh new appearance? In this detailed guide, we will certainly stroll you via the procedure of deck staining. With our easy-to-follow directions, you'll be able to transform your deck right into a gorgeous outdoor room in no time.
Preparing the Deck Surface Area
Before you start tarnishing the deck, make certain you're properly cleaning up and also fining sand the surface. Use a power washer or a hose pipe with a high-pressure nozzle to thoroughly clean up the deck. Pay close focus to locations with persistent stains or mold and mildew, as well as utilize a deck cleaner or a mixture of cozy water and also mild detergent to treat them.
Once the deck is completely dry, it's time to sand the surface. Get a handheld orbital sander or a sanding block, and begin fining sand the deck boards in the instructions of the wood grain. This will certainly assist get rid of any harsh spots, splinters, or old stain (mccoys pressure washing and deck staining). Make sure to use safety safety glasses and a dust mask to prevent any kind of eye or respiratory system inflammation. Continue sanding till the whole deck surface area really feels smooth to the touch.
Picking the Right Discoloration
When deciding on the suitable tarnish, you'll want to consider the type of timber you're working with. Various types of wood have different features that can impact just how well they absorb the stain.
Stains come in a variety of shades, from light to dark, as well as can dramatically alter the look of your deck. If you're looking to improve the natural shade of the wood, pick a transparent or semi-transparent discolor.
Lastly, think regarding the level of protection you desire for your deck. Spots with higher degrees of pigment often tend to supply much better defense versus UV rays and dampness. If your deck is subjected to extreme weather conditions, it's worth buying a tarnish with included protective high qualities.
Cleansing and Fixing the Deck
Deck Sealing
To cleanse as well as repair your deck, you'll require to gather the required devices as well as products. Initially, order a broom or fallen leave blower to remove any type of loose debris such as leaves, dust, as well as branches. Next, check the deck for any kind of damaged or rotten boards. If you identify any, make sure to have substitute boards available, together with a round saw and also a power drill for the repair. In addition, you'll need a deck cleaner solution, a scrub brush, and a stress washer to remove dust, mold, and discolorations. Don't forget to use safety glasses, gloves, as well as clothing while functioning. Once you have everything prepared, begin by sweeping the deck thoroughly, paying attention to the corners as well as edges. Then, mix the deck cleaner solution according to the producer's directions and use it kindly useful reference to the surface. Make use of the scrub brush to perturb the service as well as loosen up any gunk. After letting it sit for a couple of mins, rinse the deck with a pressure washing machine, operating in a sweeping activity. Take care not to use as well much stress as it can damage the wood. Ultimately, permit the deck to completely dry completely prior to going on to the following step.
Using the Spot
Mccoys Fence Staining
Since you've ended up cleaning and repairing, go to this site it's time to use the stain to your deck. This is the interesting part where you obtain to see your difficult job revived. Begin by choosing the ideal stain for your deck. Take into consideration the shade and sort of timber you have. Ensure to read the guidelines on the discolor can to ensure you use it correctly. Prior to you start, shield close-by plants and surface areas from any kind of prospective drips or spills by utilizing a decrease towel or plastic bed linen. Now, order a paintbrush or roller, and start applying the discolor in smooth, even strokes. Operate in small sections, complying with the grain of the wood. Do not fail to remember to discolor the sides as well as corners of your deck as well. As you go, make sure to eliminate any kind of excess tarnish to stay clear of a blotchy coating. Allow the initial coat to completely dry entirely before applying a second coat if wanted. As soon as you're done, let the tarnish remedy according to the manufacturer's guidelines prior you could try this out to relocating any kind of furniture or plants back onto your beautiful, freshly stained deck.
Completing Touches and Maintenance Tips
After applying the final coat of stain, it's essential to routinely clean as well as seal your deck to preserve its appeal and also protect it from the components. Pick a premium sealer that is especially designed for decks and also use it according to the maker's directions. It's recommended to apply a brand-new coat of sealer every 1-2 years to maintain your deck looking its ideal.
Verdict
Fence Staining Near Me
Finally, you have discovered how to make deck discoloring a very easy job for DIY enthusiasts. By complying with the detailed guide, you can prepare the deck surface area, choose the ideal discolor, tidy and also repair the deck, and also apply the discolor efficiently. Do not neglect the complements as well as upkeep suggestions to guarantee your deck remains gorgeous and shielded for years to come. With these methods, you'll be able to delight in a sensational deck that boosts the general appearance of your exterior area. Pleased discoloration!